


The Guest Book - from Alisa Golden's Making Handmade Books
A Paul Jackson Book - a One-Sheet Wonder

In Book Arts, there is a term that I am quite fond of - the one-sheet wonder.
This is usually a structure made from one piece of paper. A single piece of paper means it’s easy to print the whole book and usually it’s only one side of the paper that will show in the final book. This one happens to be a favourite of mine.
I like it because it looks like a standard codex at the end - with pages and a spine of sorts.
However, every time I go to make one of these I have waited just long enough to completely forget how to make it.
So Alisa Golden’s book. She has many books, but this is my favourite of them.
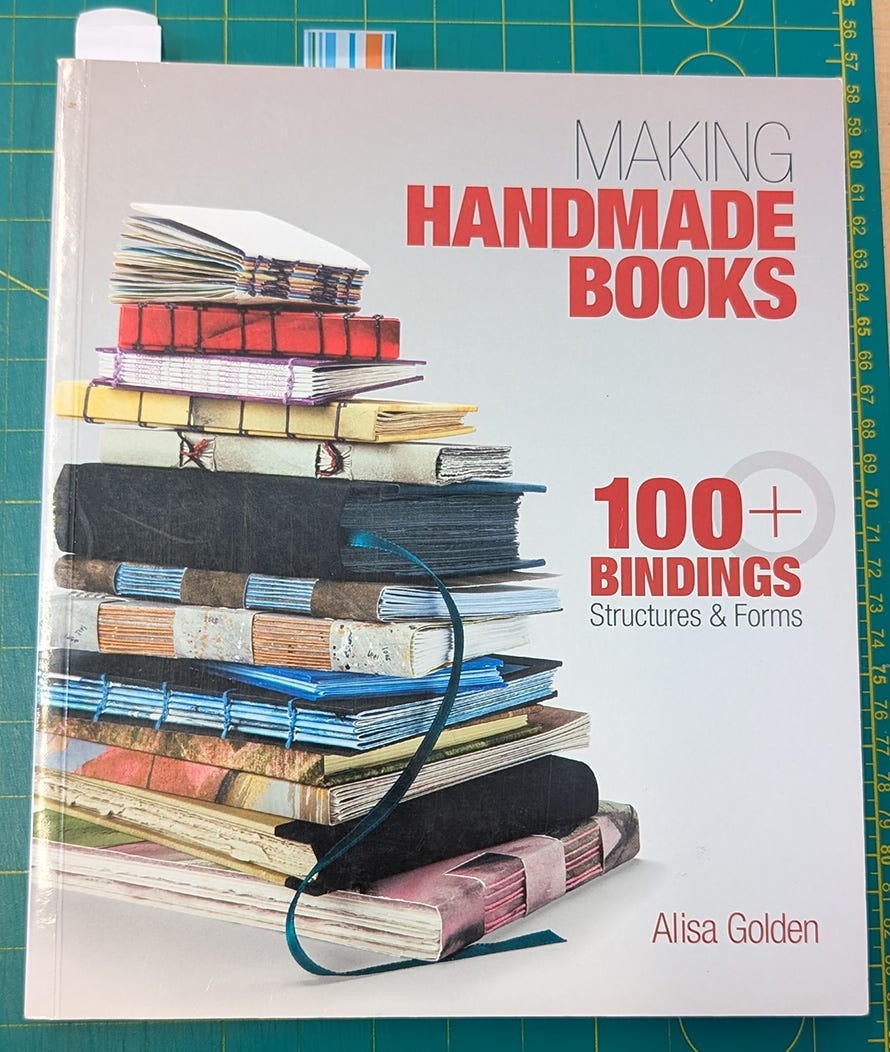
Title: Making Handmade Books 100+ Bindings Structures and Forms
Publication info: 2010, Lark Crafts ISBN 9781600595875
Firstly this is only the first project I will share from this book! My plan is to review the usefulness of how-to books, but with this book I already know is great! BUY THIS BOOK! You will not regret it!
And then immediately after buying her book, go to Alisa Golden’s youtube channel and watch some of her videos - especially the ones where she reads one of her artist’s book out loud as she flips through the pages. Soulful, beautiful, immediate, emotional - I can’t say enough good things about Alisa Golden, honestly.
All that said, Alisa Golden isn’t my typical type of bookbinder as my training is more along the lines of the traditional handbound book, but she’s so inventive and fun and human that I can’t resist making just about anything from this book!
Back to The Guest Book - I’m going to share quite a bit about how to make this because it’s not her invention, so I’m not stepping on her toes. It was created by Paul Jackson - who is a master of folding and book / paper arts. I will be looking at some of his books in the future!
I recently built one of these as part of a pitch to a local writer’s event (sadly my workshop idea wasn’t picked). In building that model, I realized that it works perfectly for a traditional 14 line sonnet because it has 7 pages (one line per side).
And in re-making this structure I realized how much fun it really is to make.
I worked with a lightweight card stock - just cheap & cheerful paper from Michaels. Sheet size is 25.4 cm x 30.5 cm (10” x 12”) - I had the grain parallel to the 30.5 cm side, but honestly with this little book, it doesn’t really matter.
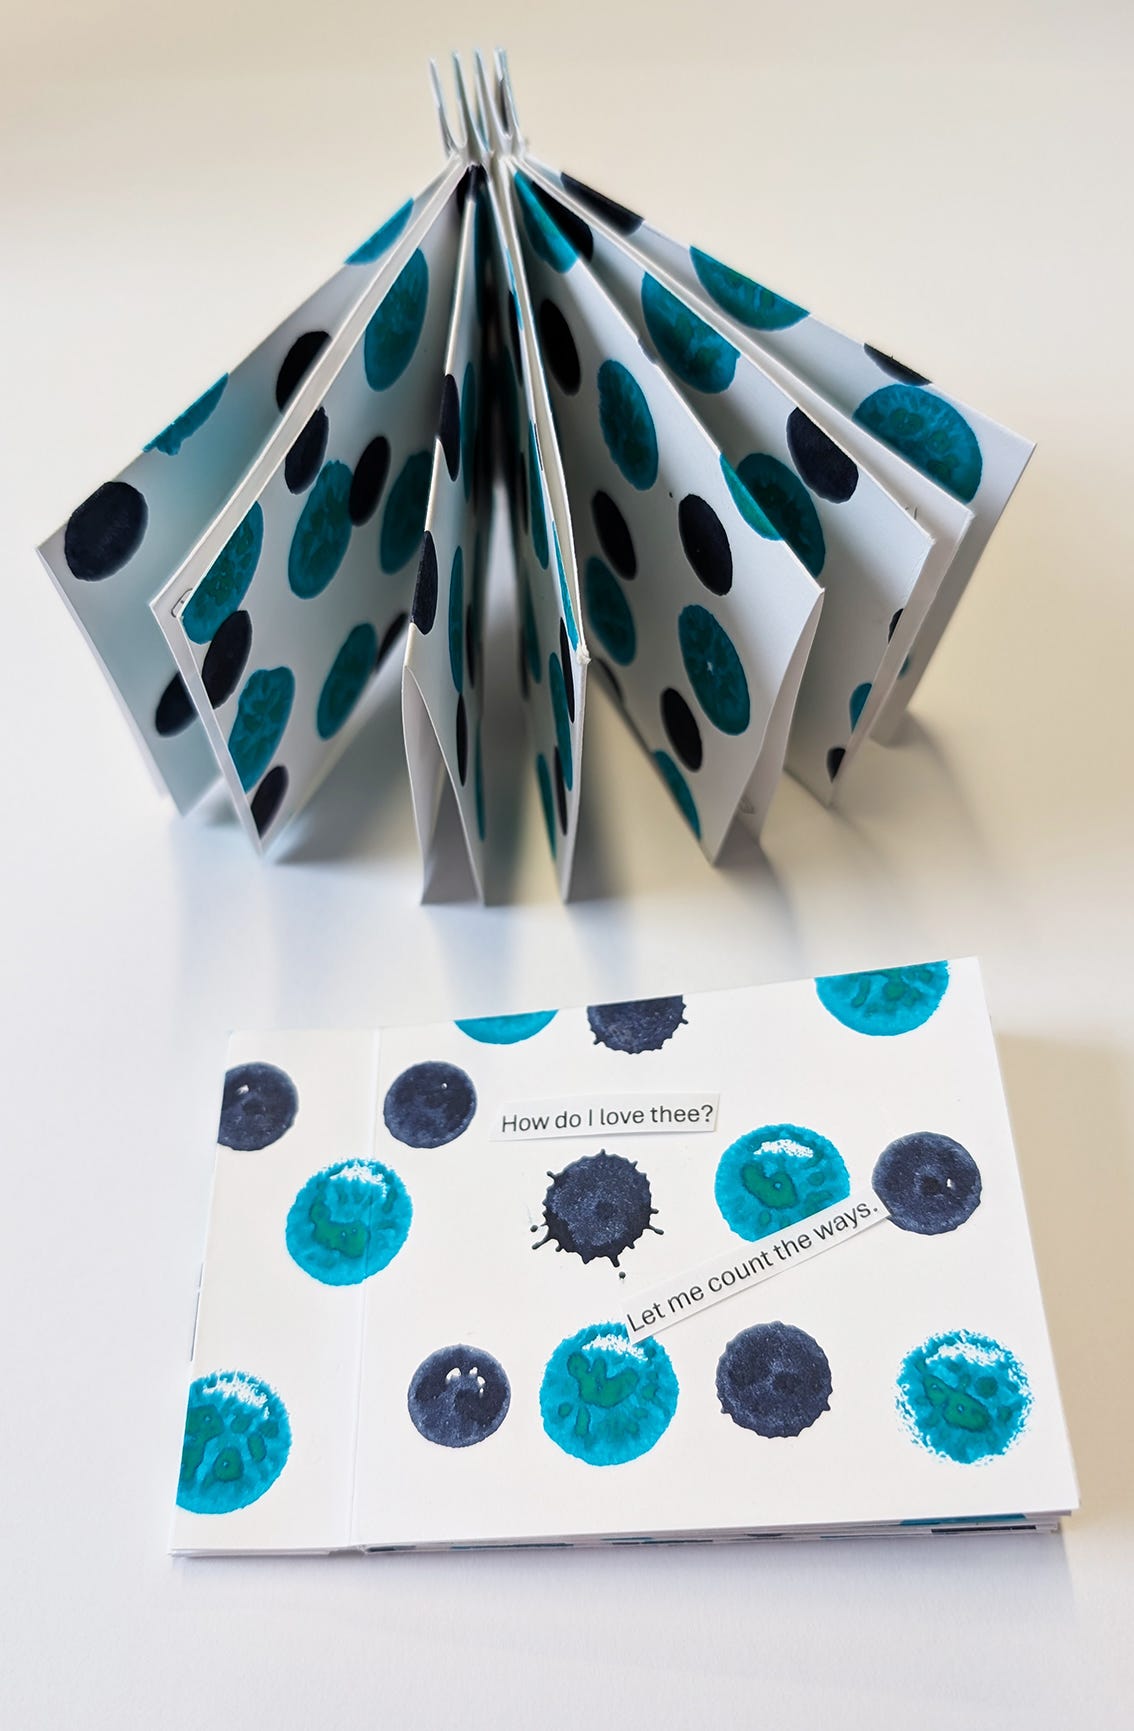
I strongly recommend that you use a paper with different colours on each side to keep things straight when you are folding. I used bingo daubers to make my polka dots, because the ink dries super quickly.
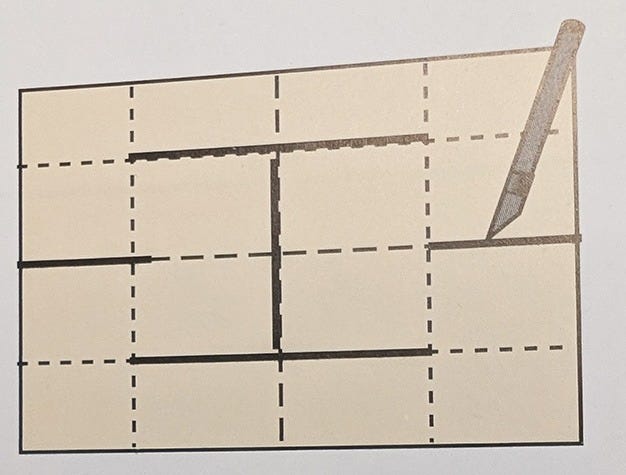
Fold up each way to have four panels - three folds. Then cut per the diagram below.
What is tricky from Alisa Golden’s instructions is that magical step where you go from a flat page to a wee little book. She tries to show how it will work but I had to play with it for a long time as the drawings didn’t make sense to my brain.
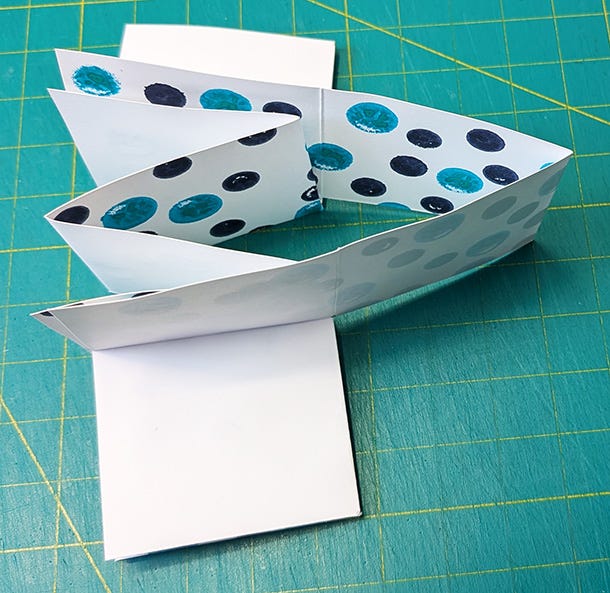
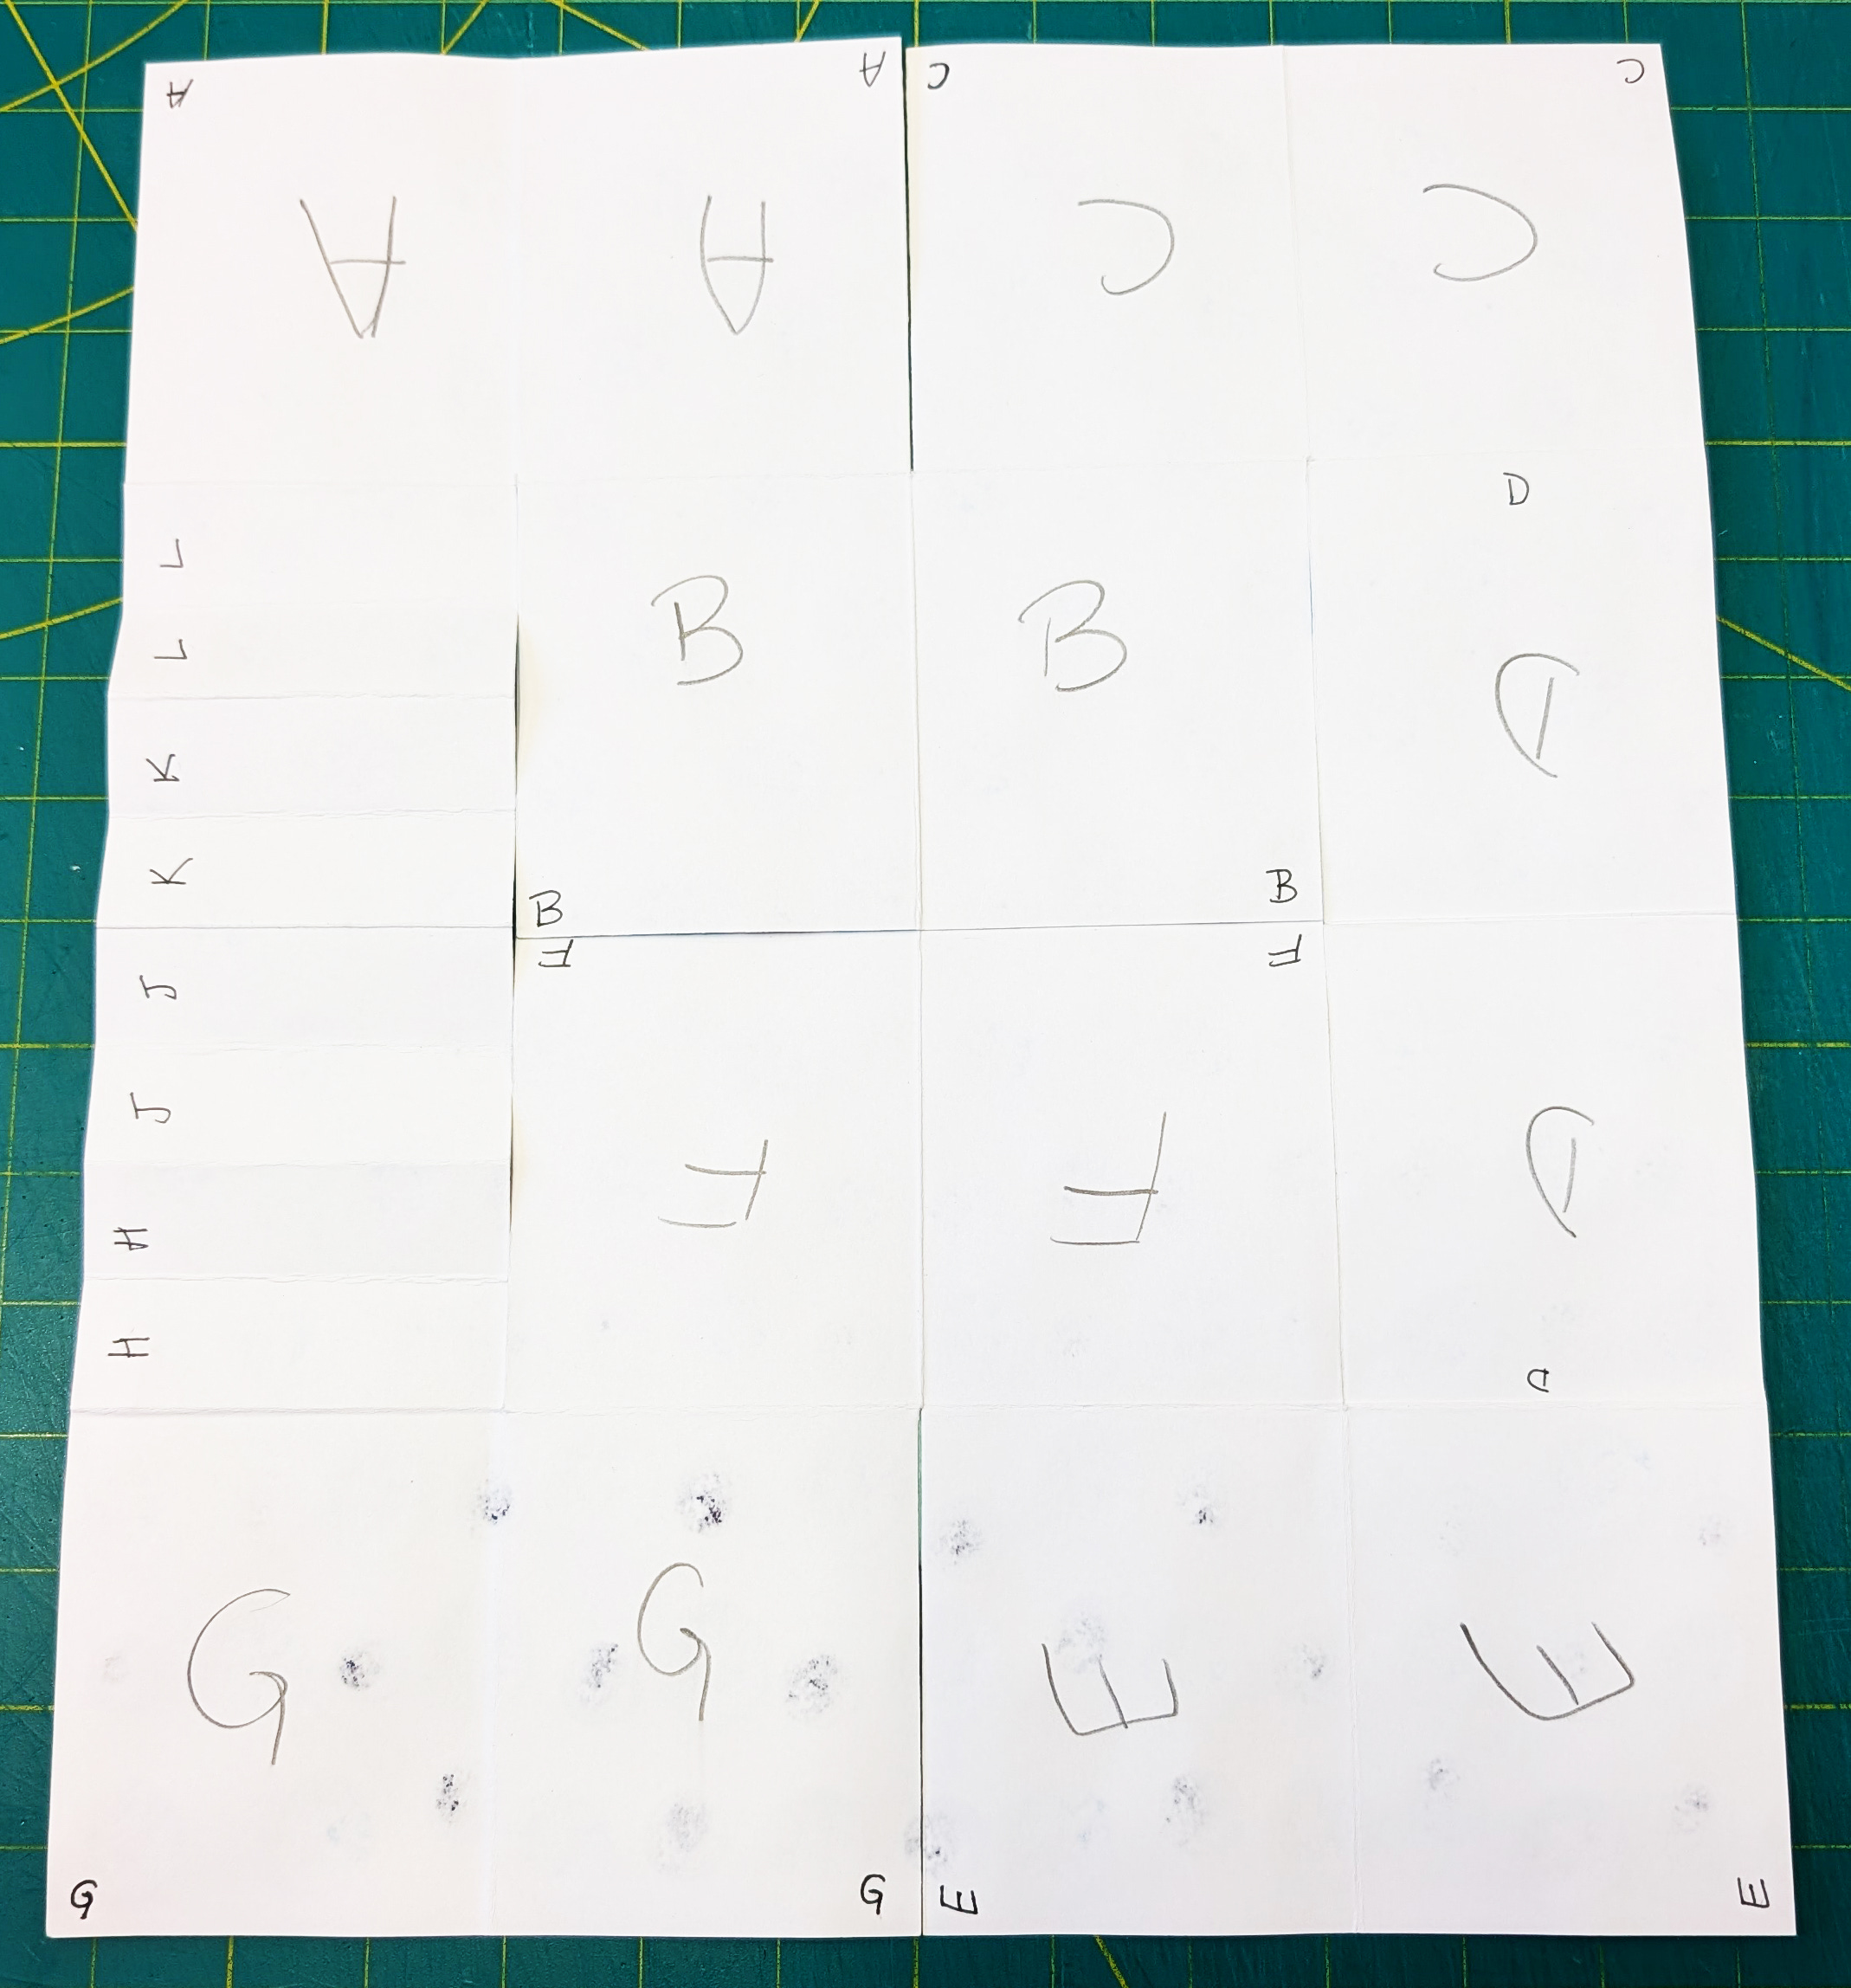
So I made this version - but this is the FINAL step. I think it will help to see it first. The letters on the back to show how the folds will work. A meets A, etc.

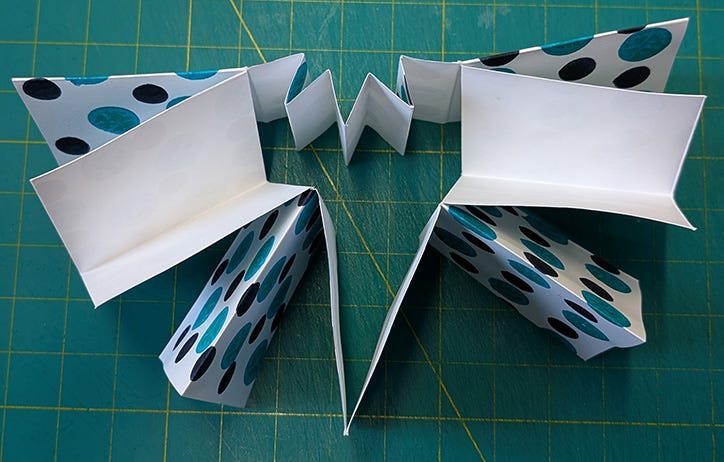
Before this final step, you need to make the small folds to create the spine. With the decorated side on the inside, have the two of the centre panels folded out like below:
Then fold like this:
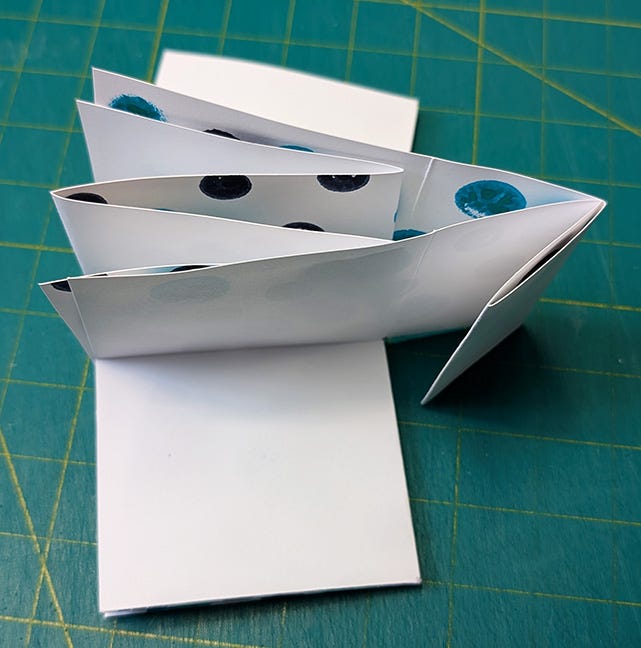
Final fold like this:
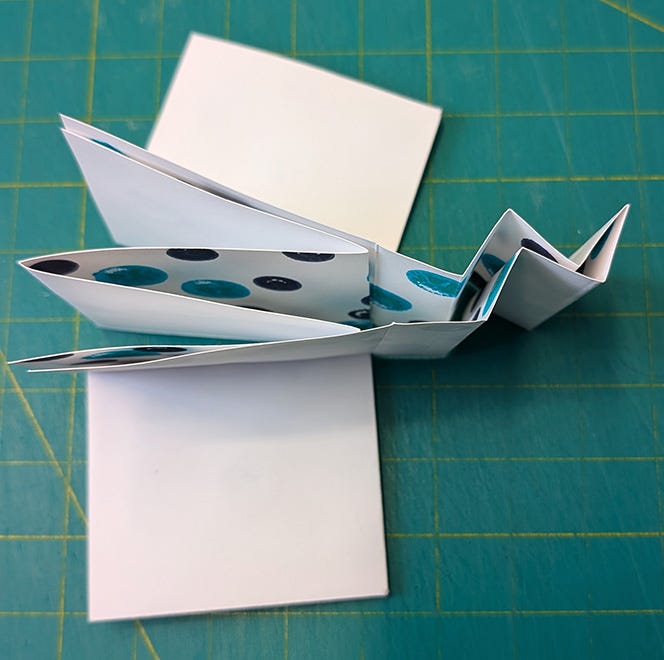
Then you need to reverse all the folds so the decorated side is on the outside.
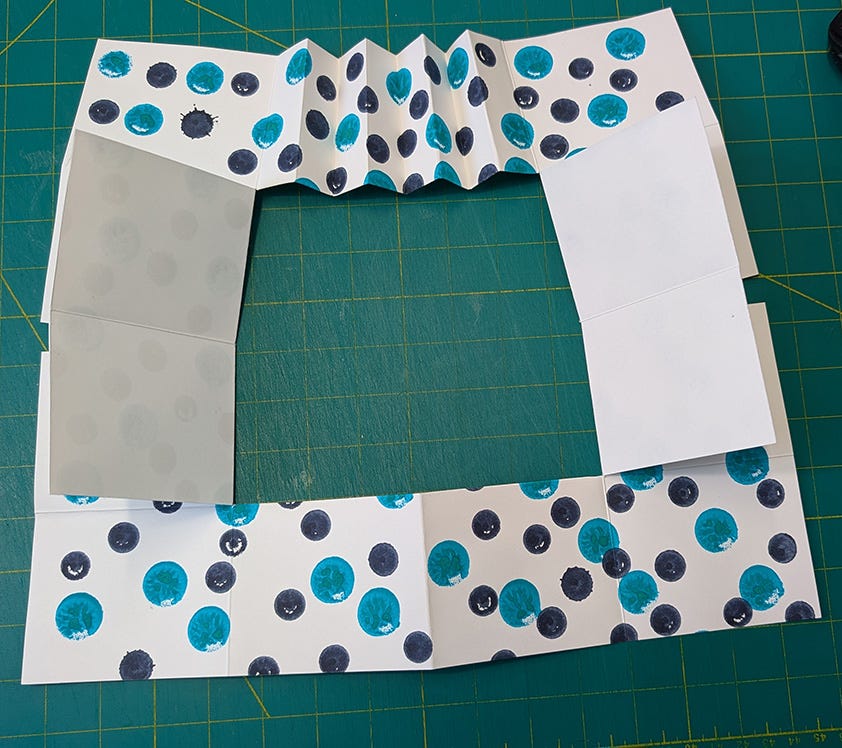
Then do the final folding following the image below, making the letters meet. So A meets A and C meets C.
It should look like this. Add glue to the plain paper on the inside of the folds - I used glue stick for ease. Start with gluing the small folds of the spine and then glue the pages together moving through the pages. I don’t recommend gluing before the folding.
If you want, you can add glue to the decorative side of the spine pieces to make it more sturdy.
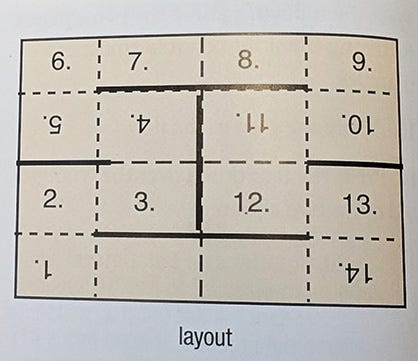
This diagram shows how to place your content so it will be right side up when all the folding is done. Of course you can add elements after the folding - no problem!
I think a mixed media paper would work well. I used a lightweight card stock that is 65 lb / 176 gsm.
Also you can scale this as long as you use a rectangle, but I really like this size.
I hope this inspires some book art fun!
I also love this book and I also struggled with how to make this structure. I found your post by googling. Thanks for being there. Your explanation got me to the final product but I still have no idea how you got from the flat page to the picture with the heading "Before this final step . . .". I ended up using the picture after "you need to reverse all the folds ..." to fold the little folds and then matched your A's, B's etc.
I love your diagram to help aid Alisa's diagram! What a fun book!